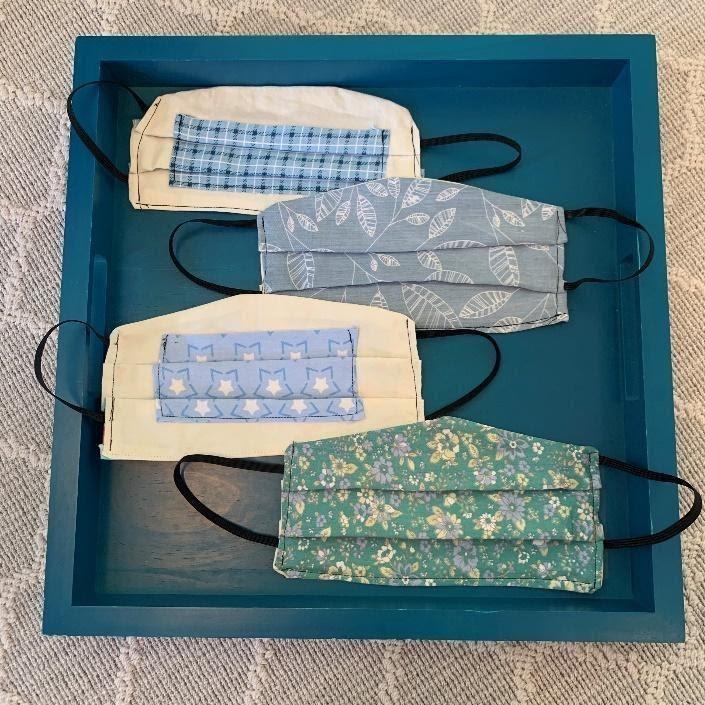
With grocery stores and websites across the country selling out of personal protective equipment like face masks, the Center for Disease Control has recommended wearing homemade cloth face masks in public places. With a sewing machine or a hand needle and thread, these masks are easier to make than you might think. This step-by-step tutorial will guide you through making a CDC-compliant cloth face covering to protect yourself and your family.
Materials you’ll need:
- Cotton fabric: old t-shirts or bed sheets can be used in place of bolts of fabric
- Scissors
- Printer paper
- Sewing machine or needle and thread
- Elastic
- Iron (optional)
STEP 1:
The first step is to make a paper pattern so the mask will be easier to replicate. The pattern should be an 8.5 x 6 inch rectangle with a peak at the top for the nose. The center point of the peak is raised an inch from the short edge, with diagonal lines connecting down to the edges.

STEP 2:
Next, use the pattern to cut two pieces of fabric. They don’t have to be different colors or fabrics.

STEP 3:
This mask will have a pocket on the inside so that a paper towel, coffee filter, or vacuum bag can be inserted and changed out for extra protection. The rectangle of fabric for the pocket should be 7 x 3 inches.

STEP 4:
Iron down the edges of the pocket piece. The folded over portions should be between ¼ to ½ of an inch; the measurement doesn’t have to be exact.

STEP 5:
Lay the pocket piece on top of one of the two bigger pieces of fabric. Then, sew around the sides and bottom of the pocket so that the top remains open.


STEP 6:
Lay the second large piece of fabric on top of the pocket piece, with the right sides of the fabric together. You’ll be sewing the mask inside out, then flipping it.

STEP 7:
Cut two 7-inch-long pieces of elastic.

STEP 8:
Lay one piece of elastic in between the two layers of fabric in a C shape. You’ll want the two edges of the elastic to meet up with a short edge of the fabric, about an inch up from the top and bottom edges. It might help to pin the elastic in place so it doesn’t move.

STEP 9:
With the elastic in place, sew across that edge of the fabric. Then sew across the bottom edge. Next, place the other piece of elastic in the same fashion, between the fabric layers, on the other short side of the mask. Sew across that edge.

STEP 10:
This is what the mask should look like so far. The next step is to flip it right-side out.


STEP 11:
The bottom edge of the mask still needs to be closed. Using an iron, press the bottom edges in about a quarter of an inch. Then, sew across the bottom edge.


STEP 12:
The next step is the pleats of the mask. These add extra layers of fabric to the mask that further protect the wearer. Start by folding up a pleat about an inch from the bottom of the mask, and pin it in place. Then, fold up a second pleat an inch up from the first. Pin it in place as well.


STEP 13:
The final step is to sew the pleats into place. Sew straight across the two edges you pinned. The mask is complete! Be sure to wash it after every use, and don’t forget to place a paper towel or filter in the back pocket.


